The Only Guide to Gutters Austin
Table of ContentsGutters Austin for BeginnersFascination About Gutters AustinNot known Factual Statements About Austin Gutters An Unbiased View of Austin Gutters
Red tin snips cut counterclockwise. Green snips cut clockwise. Either one will function. Cut 1/16 in. outside the line. Slip the outlet into the hole as well as predrill 1/8-in. openings for the rivets - gutters austin tx. Remove the electrical outlet and also run a grain of rain gutter sealer around the opening. Press the electrical outlet right into the caulked opening as well as install the rivets.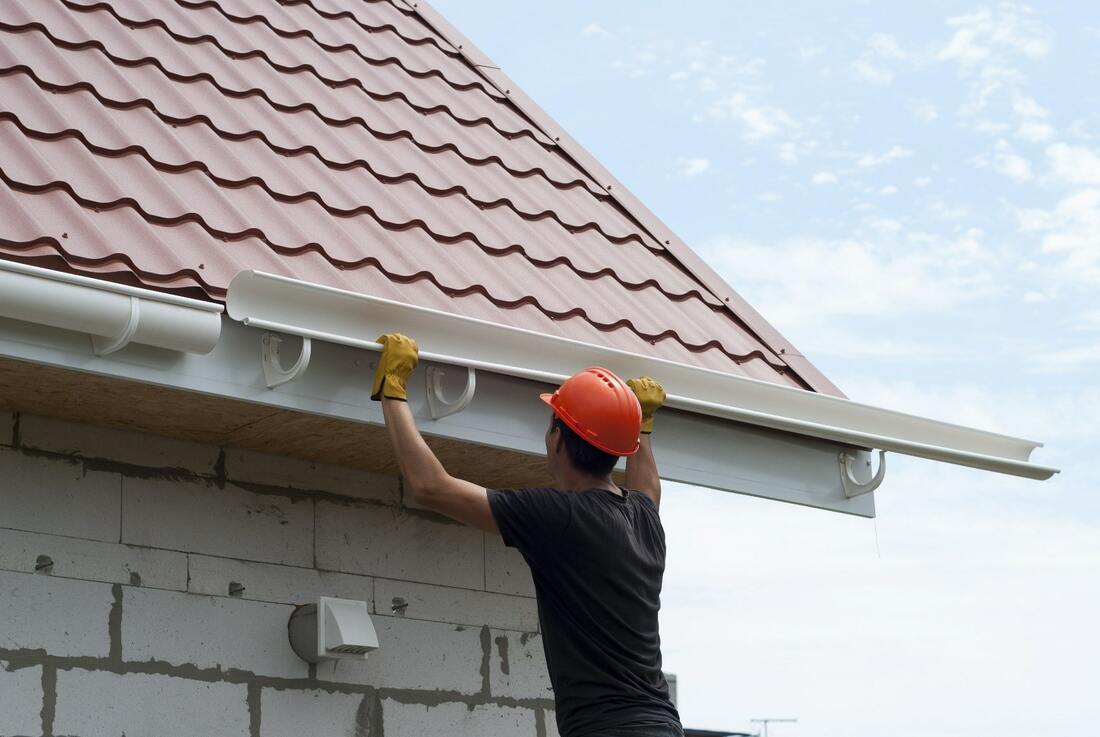


Align a level with the string to examine the slope. The bubble needs to be off-center towards the high side. If it's not, adjust the string up until the bubble suggests that you have the correct slope. Ultimately, break the string to mark a line on the fascia board. Drive 1-1/4 in.
View Premium Seamless Gutters Austin - Rain Gutter Installation in a full screen map
Mount one screw every 2 ft. The number and also size of downspouts establish just how rapid your gutters will certainly empty. Sloping them assists remove standing water that can create deterioration as well as leakage through the seams. Slope each home seamless gutters run down towards the downspout about 1/4 in. for every single 10 ft.
Our Austin Gutters Statements
If your fascia boards are level, you can utilize them as a reference for sloping the gutters. Check this by holding a level against the bottom side. If they aren't level, change the string line till a degree aligned with it shows a minor slope (Image 9). Break a chalk line to suggest the top of the seamless gutter.
With the seamless gutters screwed to the fascia, it's a straightforward task to install the hidden seamless gutter wall mounts (Picture 12). Install wall mounts every 2 ft. to sustain the gutters as well as enhance the front side. The wall mounts are designed to slide over the back edge of the gutter, yet given that we've covered this side with flashing, simply hold them level as well as drive the screws via the flashing as well as gutter back right into the fascia.

How Gutters Austin Tx can Save You Time, Stress, and Money.
Make use of a hacksaw to reduce this length from the uncrimped end of a downspout tube - gutters austin. Kink one end of the brief length of downspout with an unique sheet metal crimper. With the three blades on the within the tube, hold the crimper versus the inside corner of the tube and squeeze.
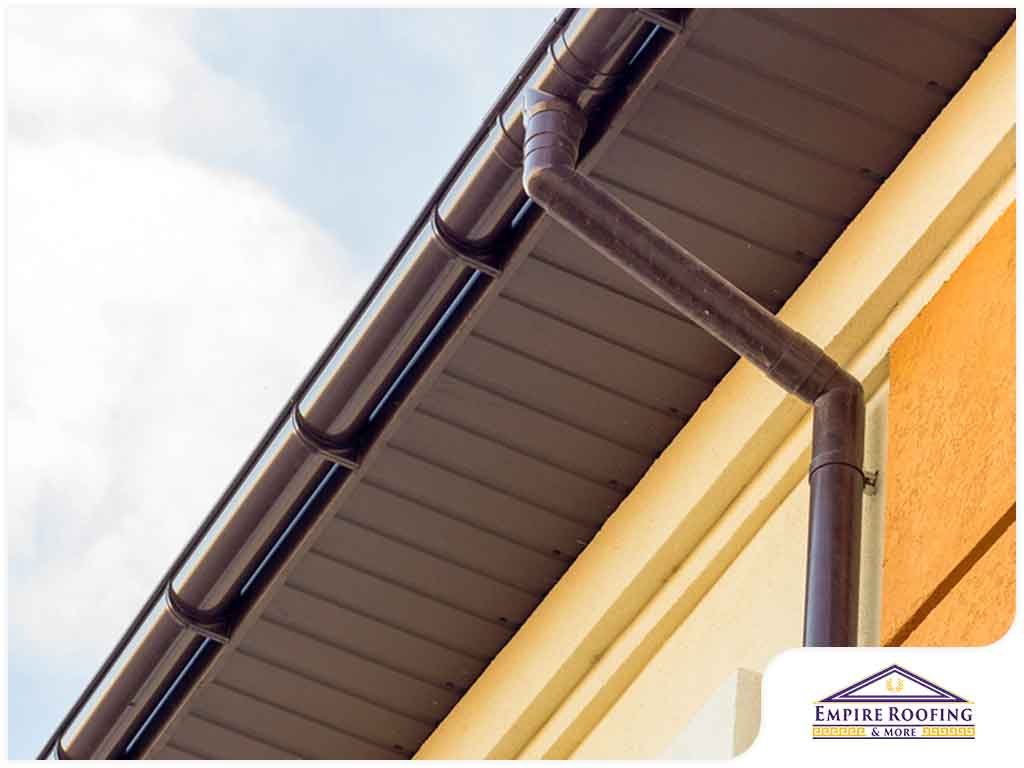
Connect this short section of downspout to both elbow joints with two 1/4-in. hex head sheet steel screws into each joint. Cut strips regarding 1-1/4 in. large from the end of a downspout with tin snips. Cut out a U-shaped brace and also snip off the edges. Measure from the edge of the house and also mark the locations of each brace, spacing them regarding 6 ft.
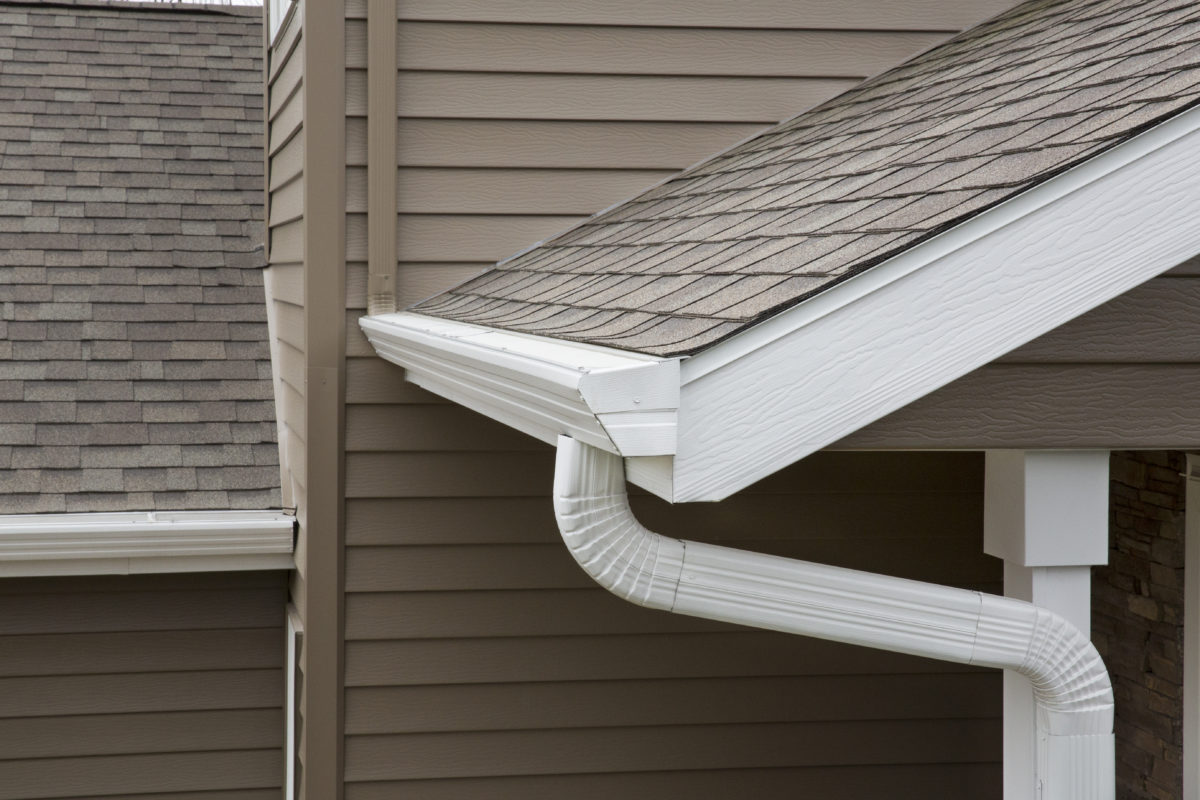
Attach the braces to the home with stainless-steel screws. (Pierce a clearance hole through stucco with a stonework bit (gutters austin). Use plastic supports for brick. Use 1/4-in.- long hex head screws for vinyl exterior siding.) Cut and screw downspout sections to an arm joint at the bottom. All-time low of the elbow need to be about 6 in.
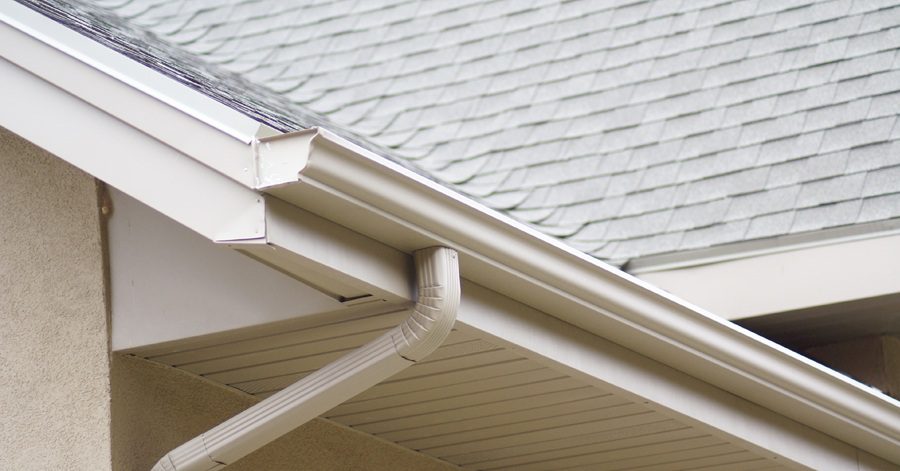
Slip this constructed downspout area over the crimped end of the top elbow joint as well as safeguard it with two screws. Drive screws with the brackets right into the set up downspout. Total the setting up by adding a length of downspout tube down arm joint to guide water away from the structure. Images 13 16 show just how to set up the downspouts.
Examine This Report on Austin Gutters
hex head visit homepage screws with very sharp points, called "zippers" because they're easy to set up. We discovered these screws in the aluminum siding area of a house center, however a gutter supplier would be an additional great resource. You can cut downspout tubes with a 32-tooth hacksaw blade, yet the pro we spoke to makes use of a circular saw with a standard 24-tooth carbide blade.